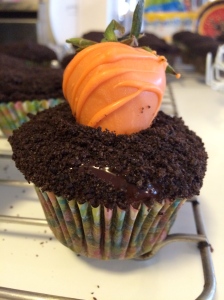
These cute cupcakes are so cute for spring, or Easter, and contrary to their name, there aren’t actually and carrots in these cupcakes.

The “carrots” on top of these cupcakes are actually strawberries dipped in orange white chocolate. The original recipe for these cupcakes came from something swanky.com. I made my chocolate covered strawberries first so they could harden overnight, but the chocolate solidifies pretty quickly, so they really only need to sit for an hour or two. First wash your strawberries, and lay them out on paper towel to dry. You want to make sure the strawberries are completely dry before you start dipping, otherwise the chocolate won’t stick. Then melt your chocolate in the microwave in 30 second bursts, stirring in between (it should only take 1 or 2 bursts in the microwave). I used orange chocolate melts, but you can also use white chocolate chips and orange food coloring.

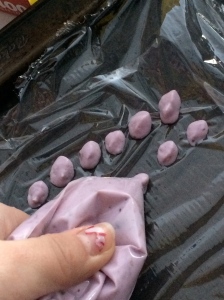
Then dip your strawberries into the chocolate and lay them on a cookie sheet covered in parchment paper to harden. You will want to use medium sized strawberries, because the large ones don’t fit on the cupcakes very well. Next, using a spoon, drizzle the chocolate across the strawberries to make them look striped like carrots. You can put the strawberries into the fridge, or just leave them out, the chocolate will solidify either way.

Next you need to make a batch of chocolate cupcakes, they can be homemade or from a box, it doesn’t really matter. While your cupcakes are cooking/cooling you can make the chocolate ganache by combining 2 cups of chocolate chips, and 3/4 cup of heavy cream. Microwave for 1 minute he stir until smooth. To make the “dirt” for your cupcakes process about 15 oreos in the food processor, until they are very fine (it should look like dirt).

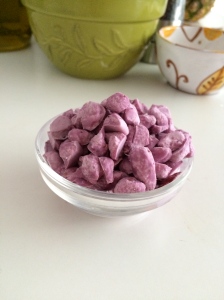
Chocolate Ganache
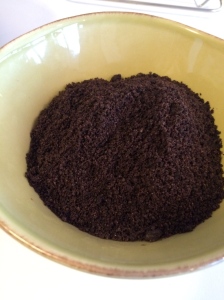
Oreo “dirt”
Then, once their cool, dip the cupcakes into the ganache, then into the oreos, and let set. All that’s left to do is put the “carrots” onto the cupcakes. Thanks for reading!